
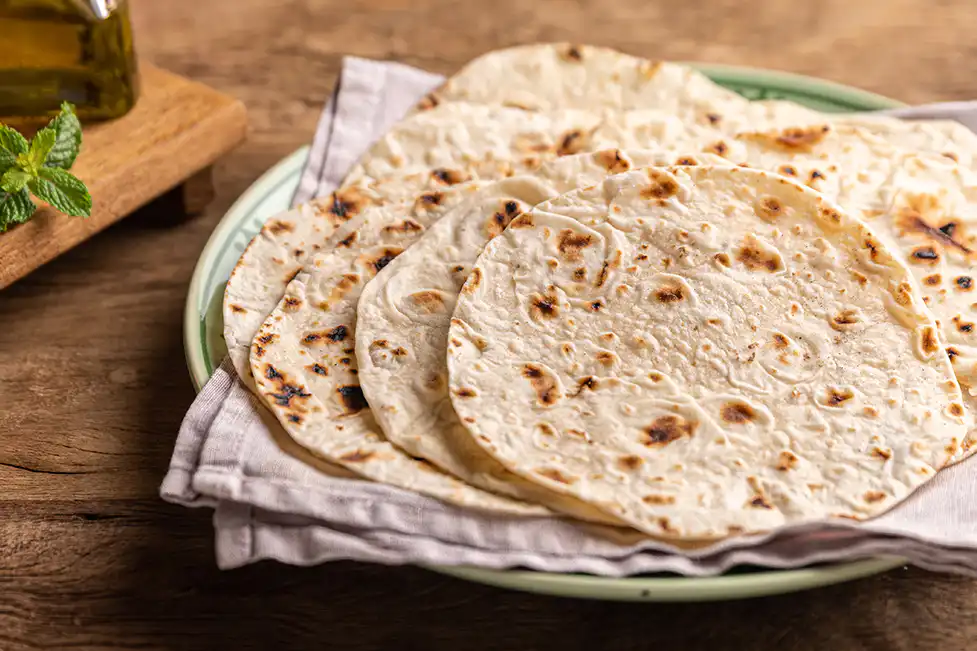
Components
- 1 cup (tea) of all-purpose flour
- Half a teaspoon of salt
- 1 tablespoon of oil
- One-third of a tea cup of water
- wheat flour as needed to dust the countertop
Setup phase
- In a big bowl, combine the wheat flour and salt. Add half of the water and knead with your hand until a thick dough forms – the flour should absorb some water before adding the oil to better soak up the liquid.
- Pour in the oil and stir thoroughly. While still in the bowl, gradually add the remaining water, kneading by hand until the dough absorbs all the liquid—be careful not to make the dough too soft.
- Let the dough rest for 5 minutes, then tighten, knead, stretch, and knead again within the bowl until it becomes soft and elastic. If you choose to work on the countertop, lightly dust the surface with a thin layer of wheat flour—using fine flour is best. Be careful not to add extra flour to the dough, as this can cause the bread to dry out.
- Shape the dough into a ball, wrap it with plastic wrap (or cover it with a cloth), and allow it to rest for 10 minutes – this resting period relaxes the gluten, helping the bread rise more easily.
- Shape the dough into a roll and, using a baker’s spatula or knife, cut it into 8 pieces. Roll each piece into a ball and dust the work surface with wheat flour. Flatten each ball with a rolling pin until you create a thin circle, sprinkling flour underneath and on top of the dough to prevent sticking.
- Place a typical frying pan (either stainless steel or iron) over medium heat – no need to untangle anything. Once the pan is hot, tap the dough disc against your hands to remove excess flour, then place it in the pan. Cook the bread for 20 to 30 seconds until bubbles begin to appear. Avoid tearing the dough; flip the bread using tongs and cook for another 15 seconds – the bread will start to puff up. At the same time, turn on another burner on the stove.
- Remove the bread from the pan using tongs and place it directly over the flame on another burner to lightly toast. Then, move the bread to a plate and cover it with a cloth to keep it soft and warm. Repeat this process with the remaining dough discs, and remember to clean the bottom of the frying pan with a paper towel after every two breads to remove any burnt flour. Alternatively, you can finish cooking the chapatis in the pan by letting them cook a bit longer after flipping. Serve immediately.
For keeping
To maintain the rolls’ softness, store them in a plastic bag for up to three days.
Punto de congelación
If you don’t want to make all the disks, freeze the remaining portioned dough before opening it (in bolts). When you’re ready to use it, take it out of the freezer ahead of time. Once the dough softens, continue the preparation starting from step 5.